Introduction
This article is about designing Database schema using MySQL Workbench. MySQL Workbench helps us to create visual data model which can be translated into a physical database on the MySQL Database Server. For demonstration purpose we’ll be designing an Contact Manager Application Database. This DB has four tables namely ContactPerson, Address, EmailAddress and PhoneNumber.
I’ll not be discussing various DB issues like Normalization, Entity-Relationship(ER)/Enhanced Entity-Relationship(EER) models or SQL programming. Please refer to the various fine materials available. Below are few recommended textbooks:
-
Database Design for Mere Mortals: A Hands-On Guide to Relational Database Design
-
Beginning Database Design: From Novice to Professional
-
SQL in 10 Minutes, Sams Teach Yourself
-
Learning SQL
-
Head First SQL: Your Brain on SQL — A Learner’s Guide
Download the latest version of MySQL Database here. Make sure that you have downloaded the community edition of MySQL.
Steps Involved In Designing Database Schema
I presume that you already have a working copy of MySQL installed in your system.
Step 1:
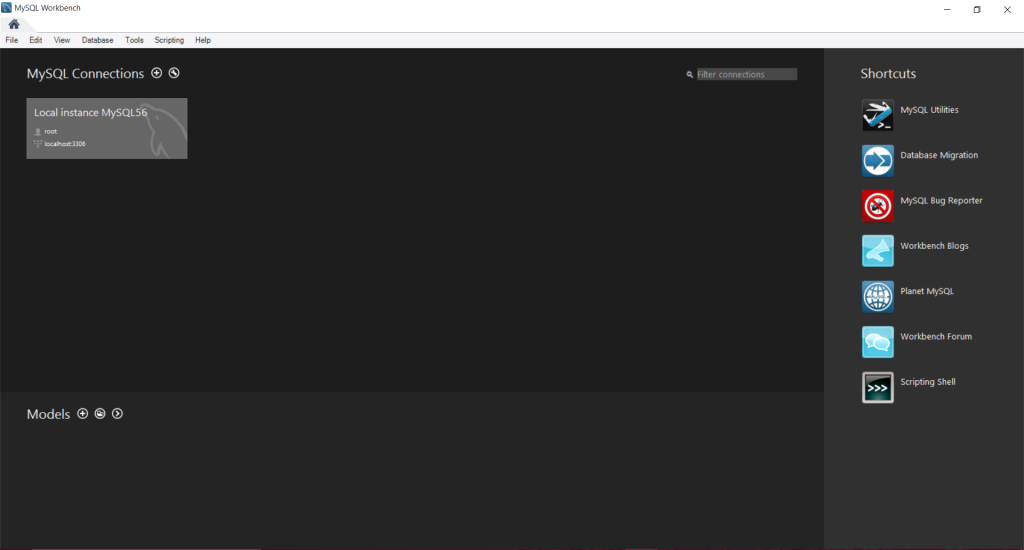
Invoke MySQL workbench. That should look like the below screen. The top Window Pane displays MySQL Connections. There can be any number of MySQL instances. Here we have one instance of MySQL connection with root user. The bottom pane shows the Models that you have created. The right window pane shows shortcuts to various MySQL tools.
We’ll create Visual Data Models and then it’ll be converted to the actual physical database schema on the MySQL database server. Remember, creation of Data Models doesn’t mean that you have already created actual physical database schema.
In the Models window pane click on the + sign.
Step 2:
You will see a screen as shown below. By default the DB schema is named as mydb. Let’s change this. Double click on mydb in the Physical Schemas window pane.
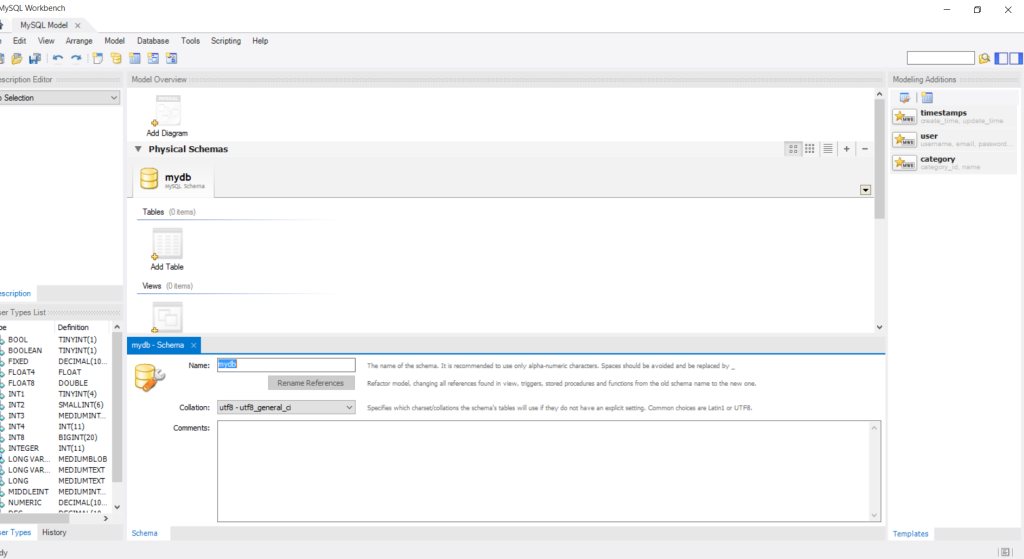
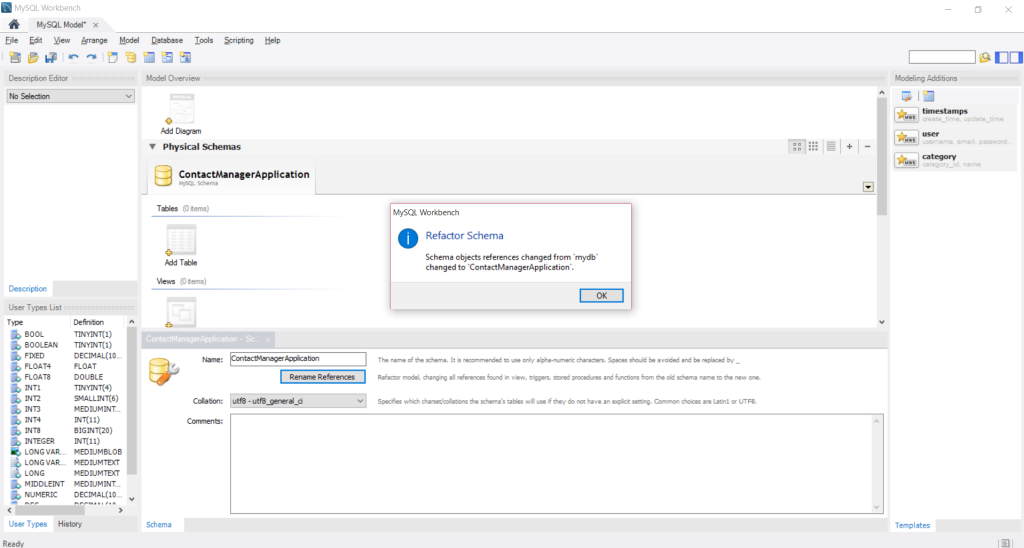
In the bottom window pane change the name from mydb to ContactManagerApplication.

In the Refactor Schema windows click on OK button.
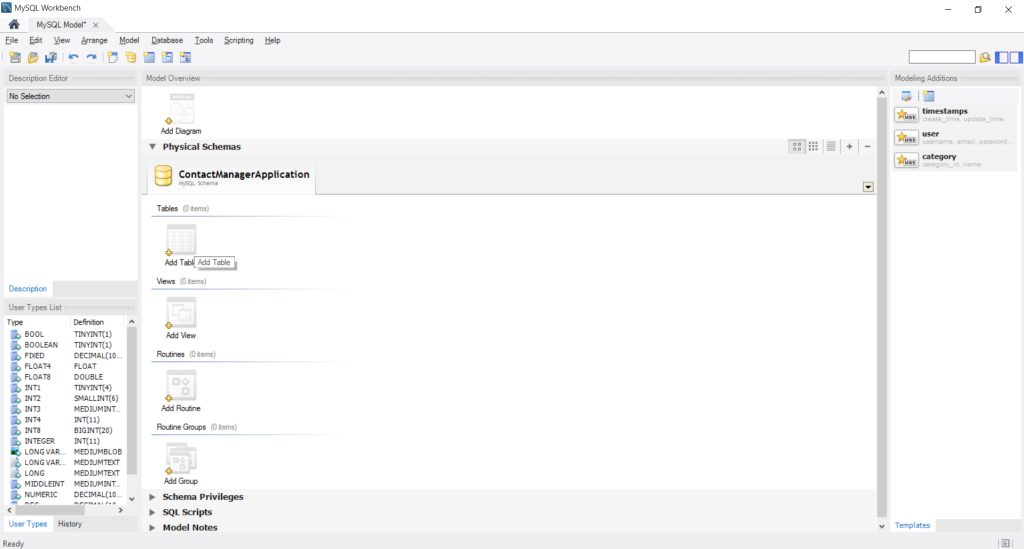
Step 3:
Double click on Add Table.
Step 4:
You will see the below screen.
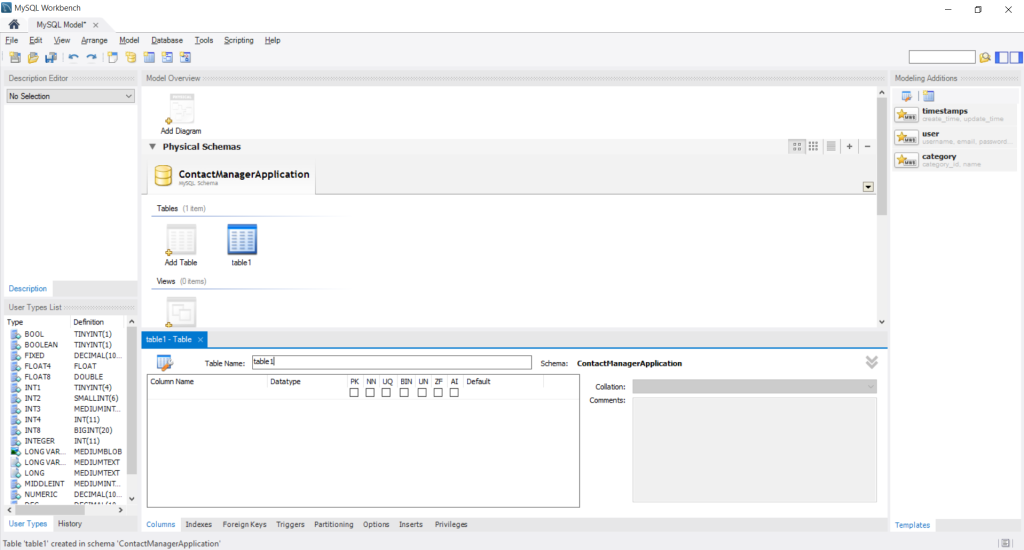
Step 5:
Change the table name to ContactPerson. Also, fill the Column Name or attributes with various values with appropriate data types as shown in the below screen.
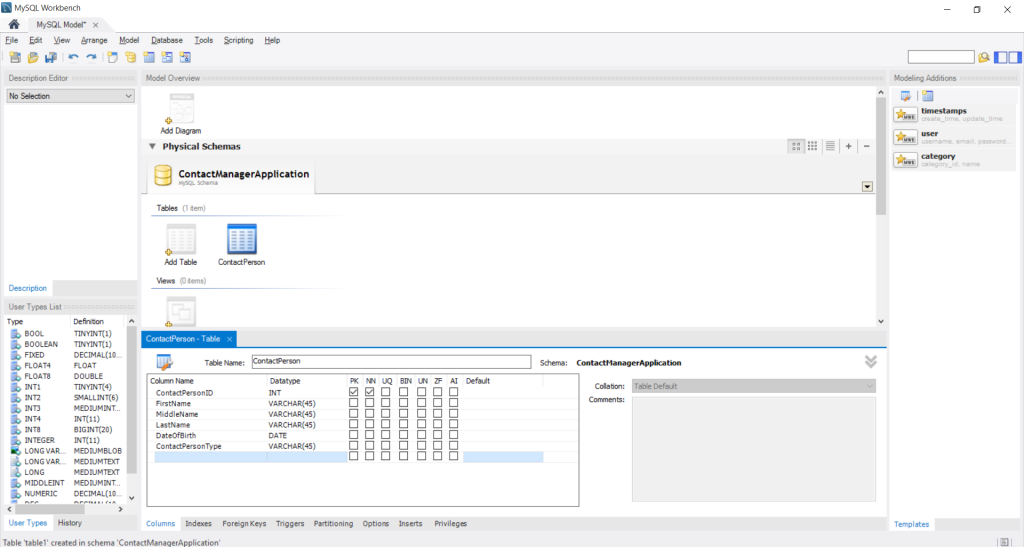
Step 6:
Add another table called Address and fill the Column Name with various values with appropriate data types as shown in the below screen.
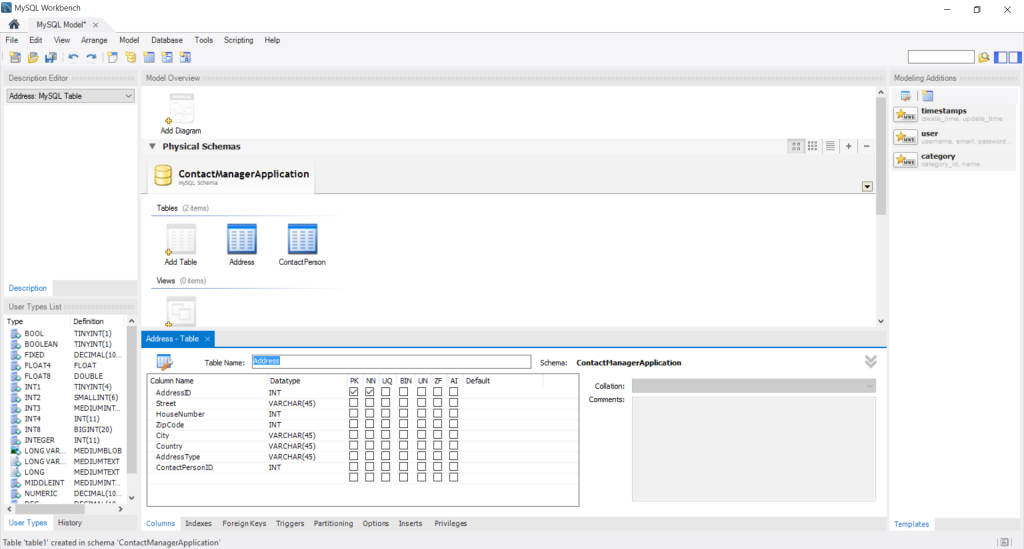
Step 7:
Add another table called EmailAddress and fill the Column Name with various values with appropriate data types as shown in the below screen.
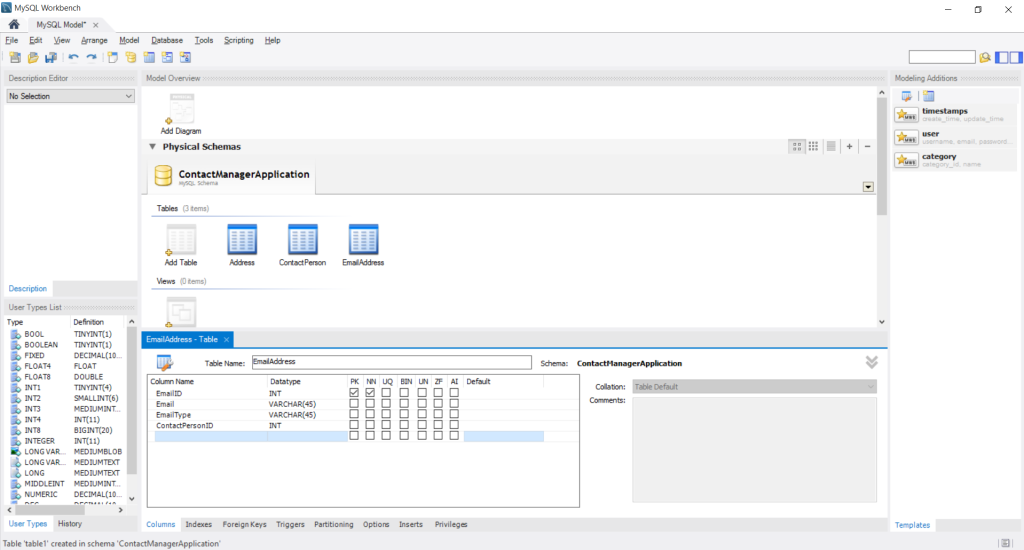
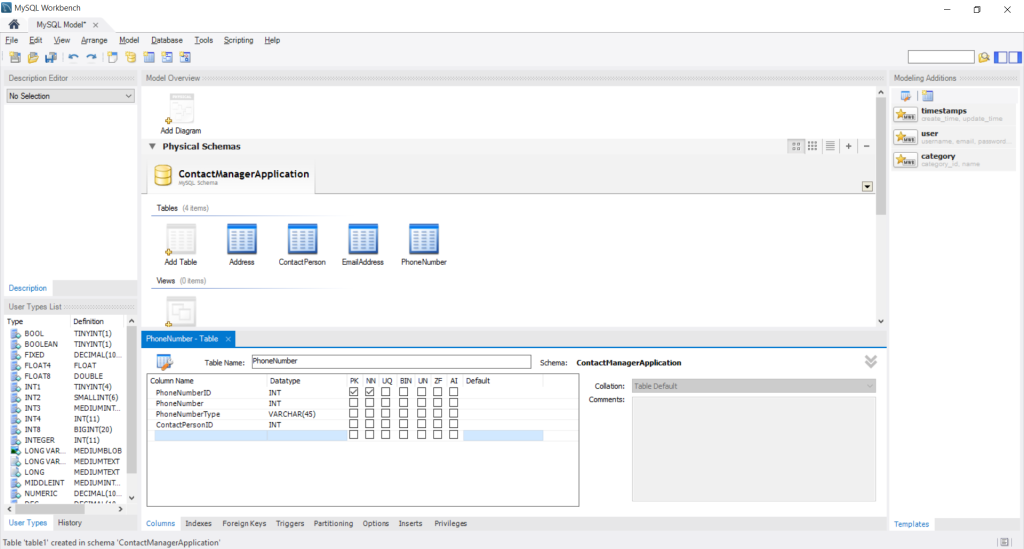
Step 8:
Add another table called PhoneNumber and fill the Column Name with various values with appropriate data types as shown in the below screen.
Step 9:
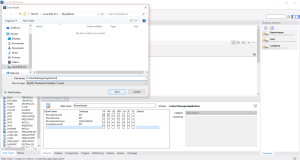
Click on Save button in the Menu bar. Save the data model as ContactManagerApplication in some folder. At this stage we have created all the tables for our schema and have saved the model. We have still not converted this model to actual physical database on MySQL database server. Lets’ migrate these models to connect to MySQL Database.
Step 10:
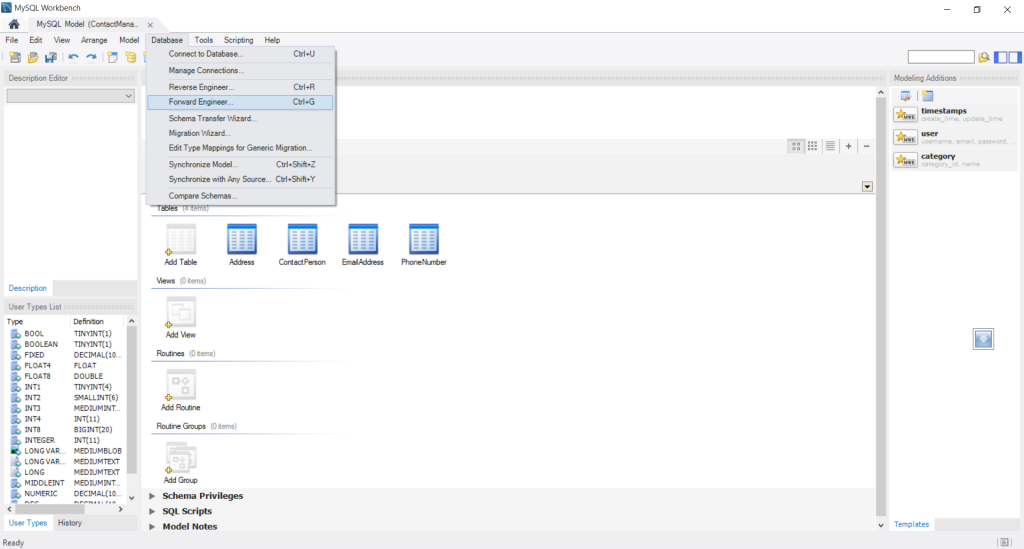
Go to the menu bar and click on Database and select Forward Engineer.
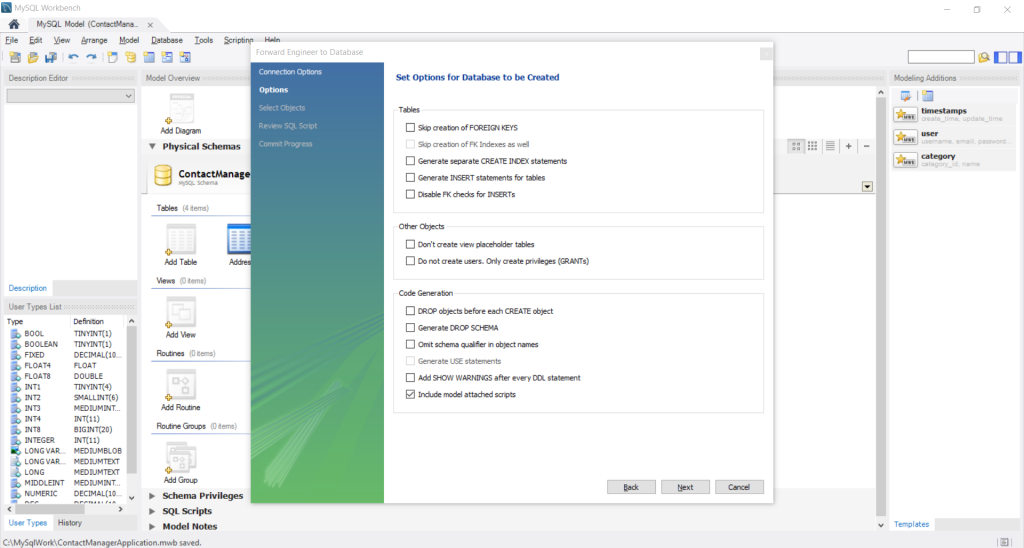
In the Forward Engineer to Database window, various parameters have been set. This depends on your configuration while installing MySQL database. I’m using the Local Instance of MySQL and root user. Leave the Default Schema blank. This forward engineering generates all the SQL code to create a physical database on the target server.
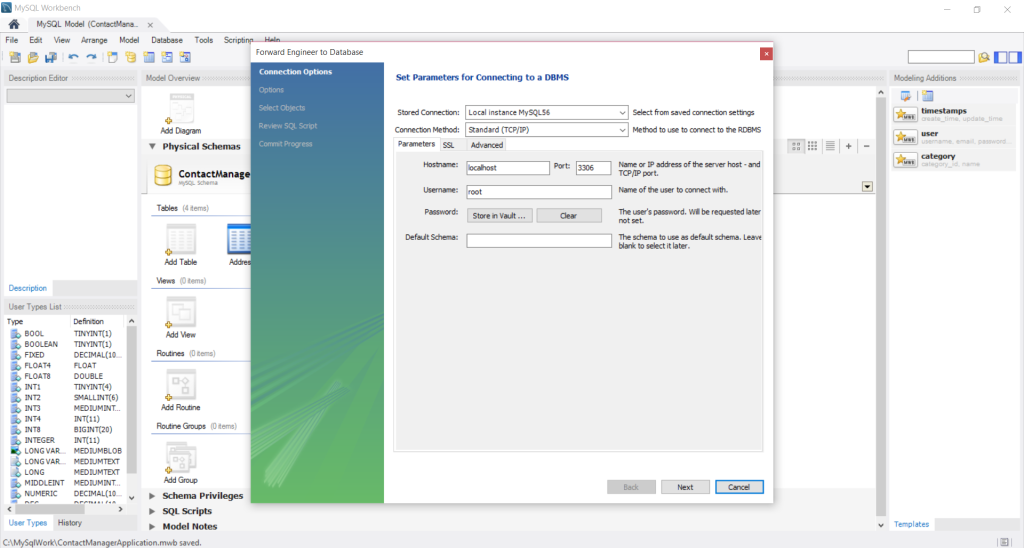
Click on Next button.
Give the Password for the root User and click on OK button.
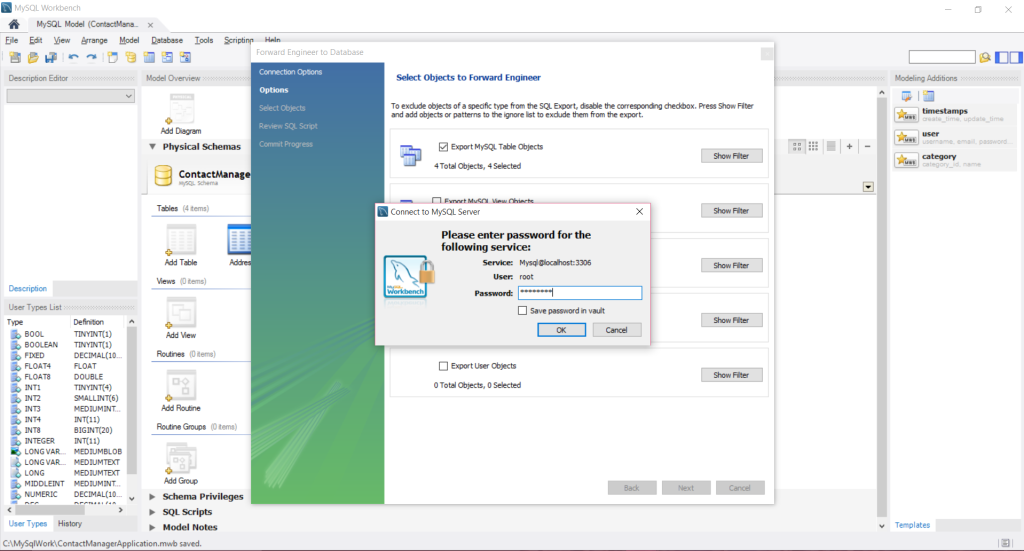
Click on Next button.
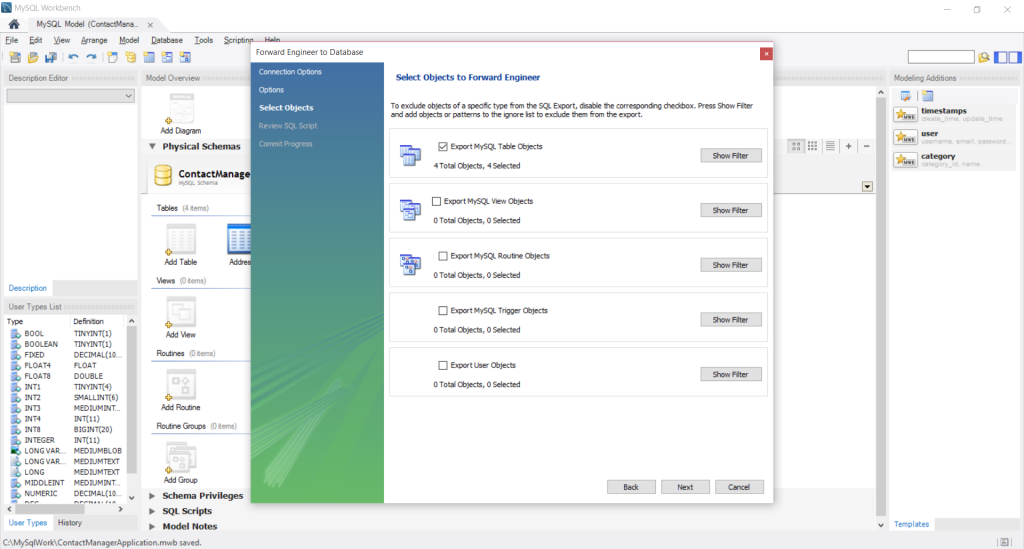
In the window you can see the SQL script that has been generated by the MySQL workbench. You can review the script and save the script as a file and click on Next button.
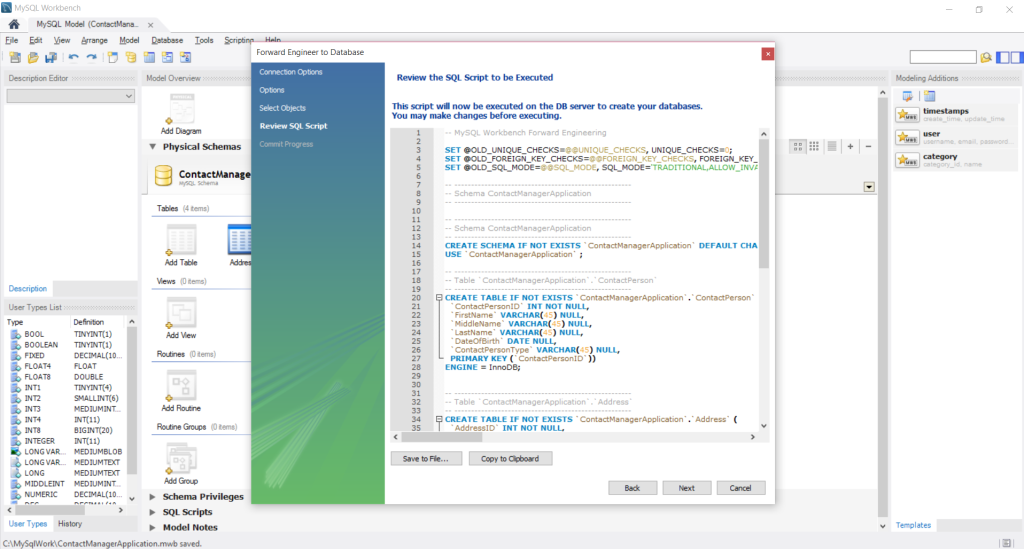
Again, give the Password for the root User and click on OK.

Click on Close button.

Step 11:
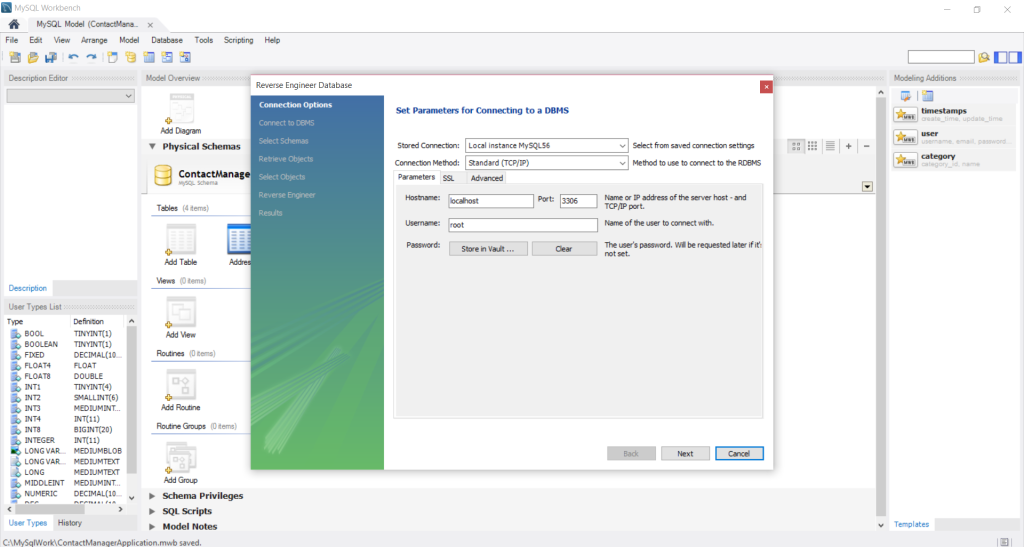
From the previous step(Forward Engineering) we have generated the SQL script for our models. We’ll use Reverse Engineering to connect the generated SQL script to the SQL Server database thereby creating the actual physical database on the SQL Server. Go to Database in the menu and click on Reverse Engineer.

Again, you see the default parameters that are set and click on Next button.
Give the Password for root User and click on OK button.
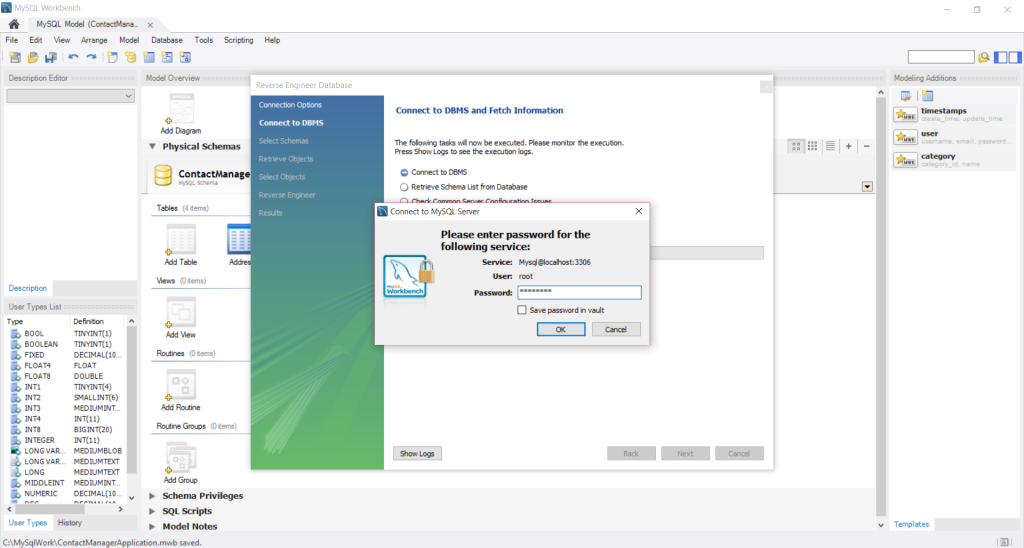
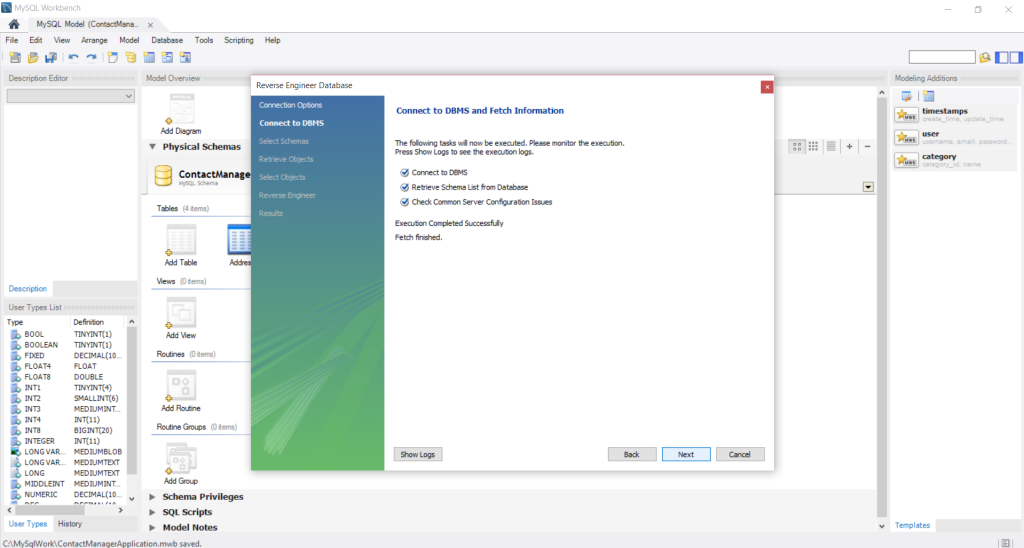
Click on Next button.
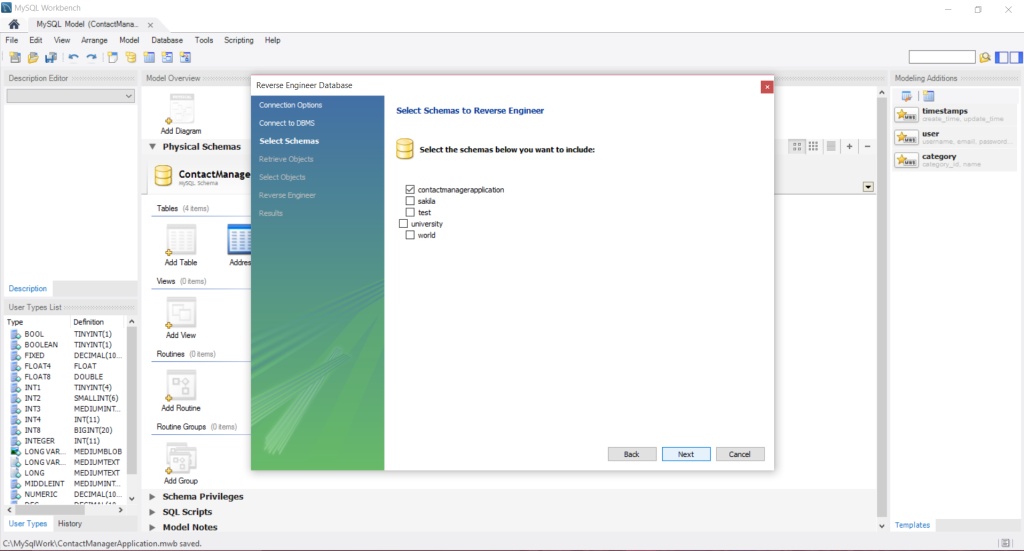
Now at this stage you can see the available list of various Database schemas. Select the contactmanagerapplication checkbox and click on Next button.
Give Password for the root User and click on OK button.

Click on Next button.
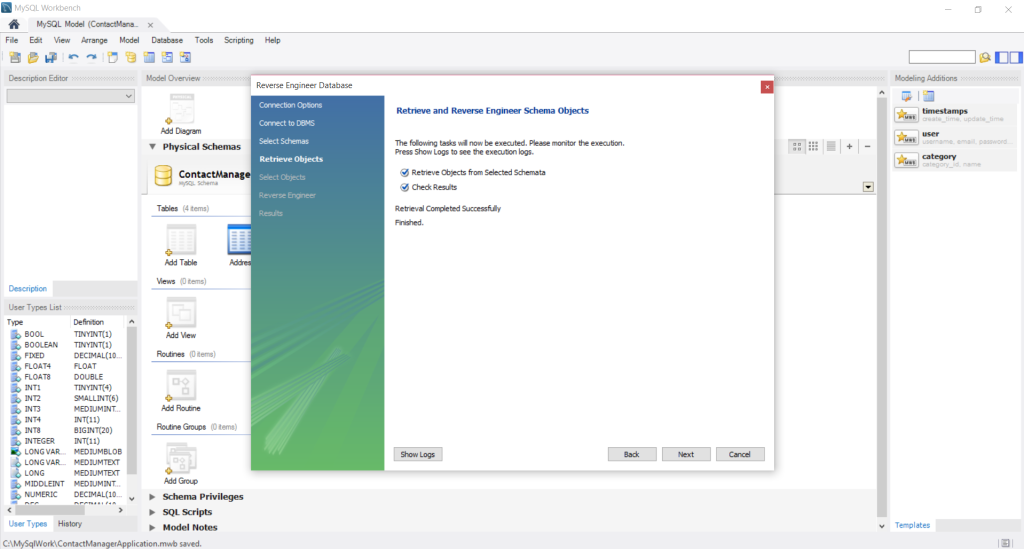
Click on Execute button.
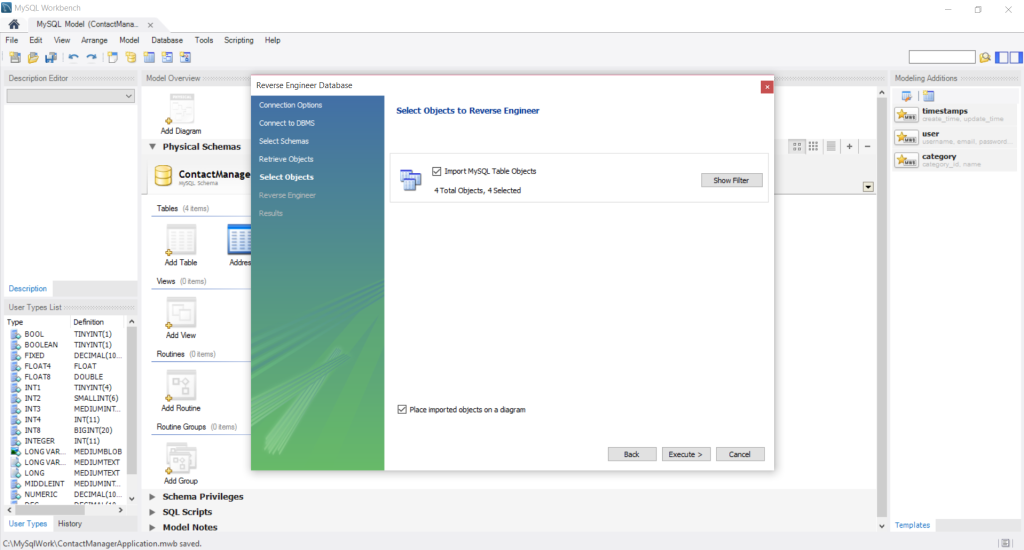
Click on Next button.

Click on Finish button.
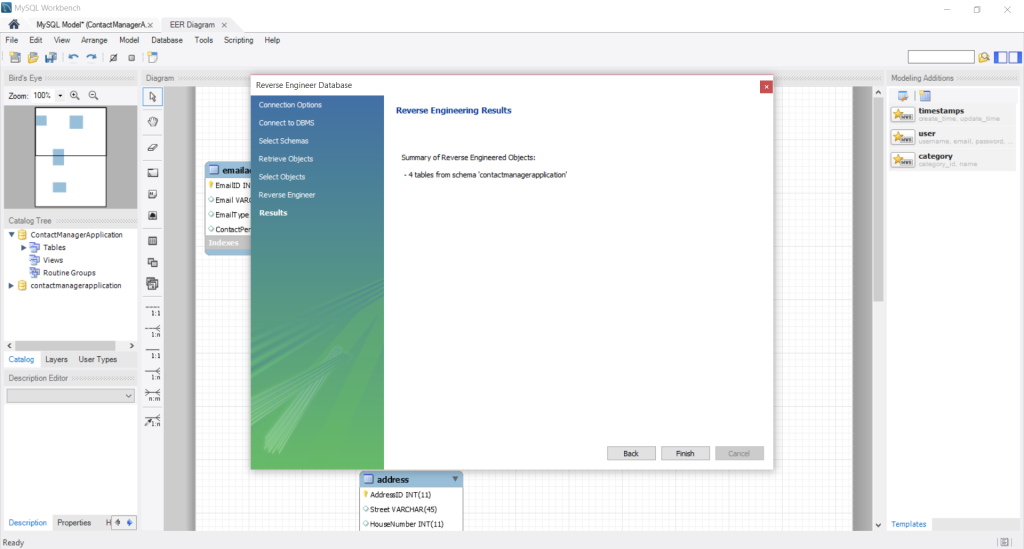
Step 12:
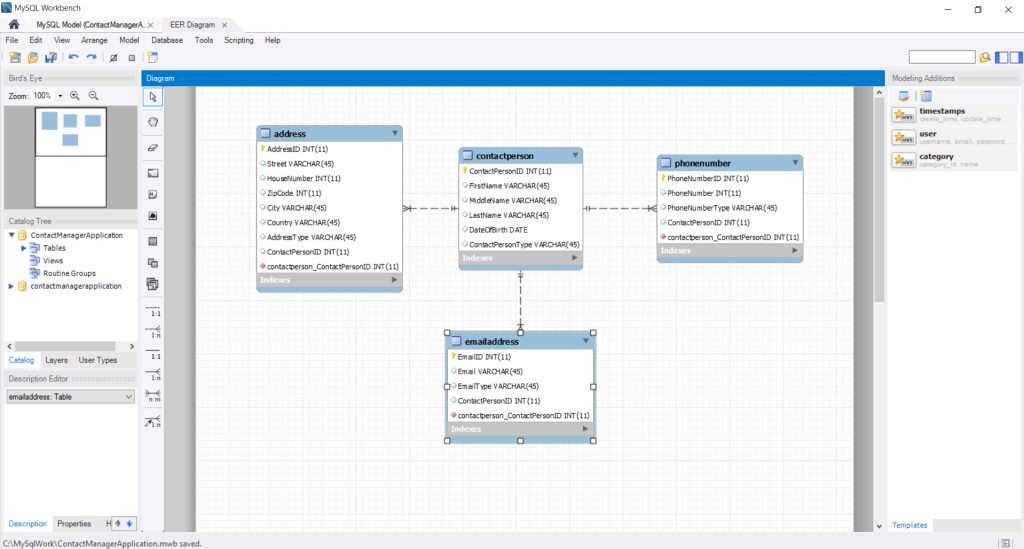
An EER diagram will be automatically generated by the MySQL workbench. It shows the data model which we have created. Let’s establish relation between various tables. Click on the highlighted button (which is an 1 to many relation) in the column bar.
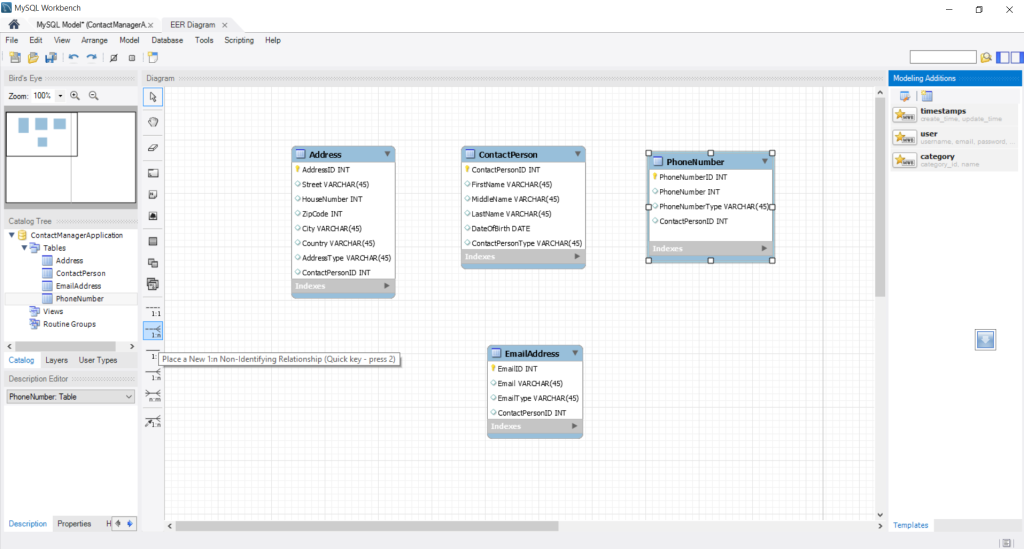
First click on the name on whose side the many relationship should come and then click on the name on whose side 1 relationship should come. For e.g., to establish 1 to many relationship between address table and contactperson table, first click on ContactPersonID in the address table and then click on ContactPersonID in the contactperson table.
Repeat the above process between other tables to establish a relationship as shown below.
Step 13:
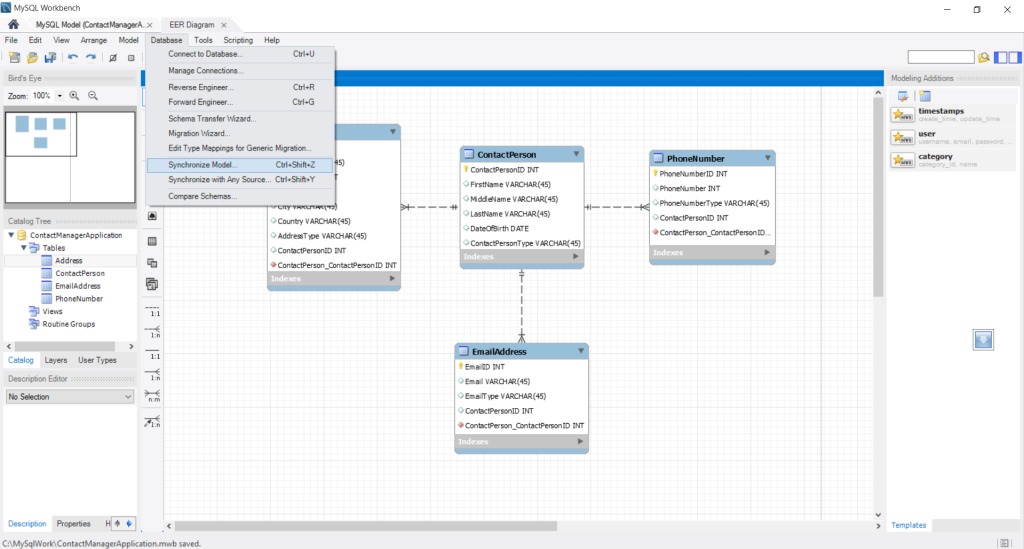
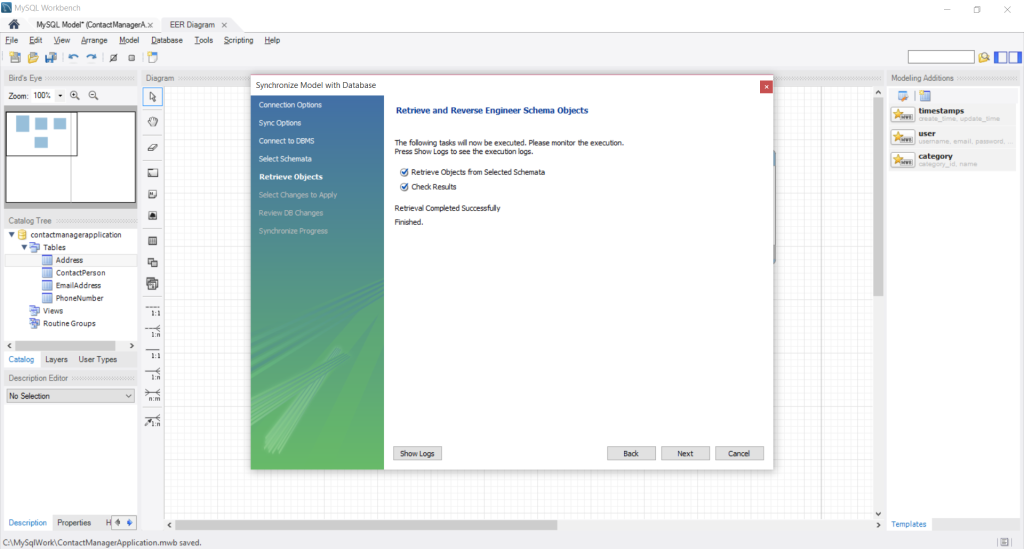
In the previous step, we have established the relationship between various tables as seen in the EER diagram. But this relationship is not reflected in the actual physical database schema which we have created. To do so, we have to synchronize between the actual physical database schema and the data model. Go to menu and click on Database and select Synchronize Model. When ever there is some changes done to the data model as seen in the EER diagram it won’t get reflected automatically in the Database Schema. We have to synchronize the changes done to the data model as displayed in EER diagram with the Database Schema to see the changes.
Click on Next button.

Click on Next button.

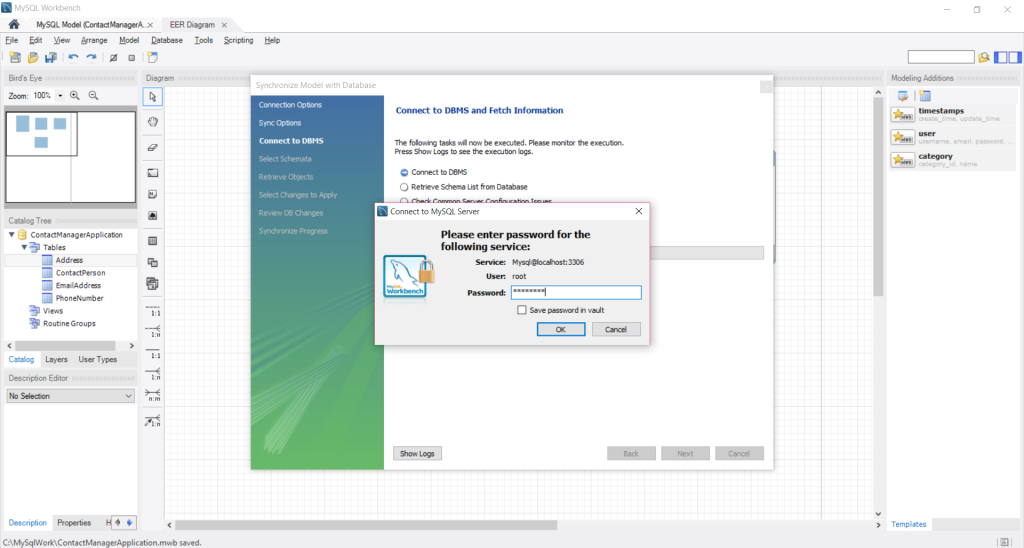
Enter the Password for root User. Click on OK button.
Click on Next button.

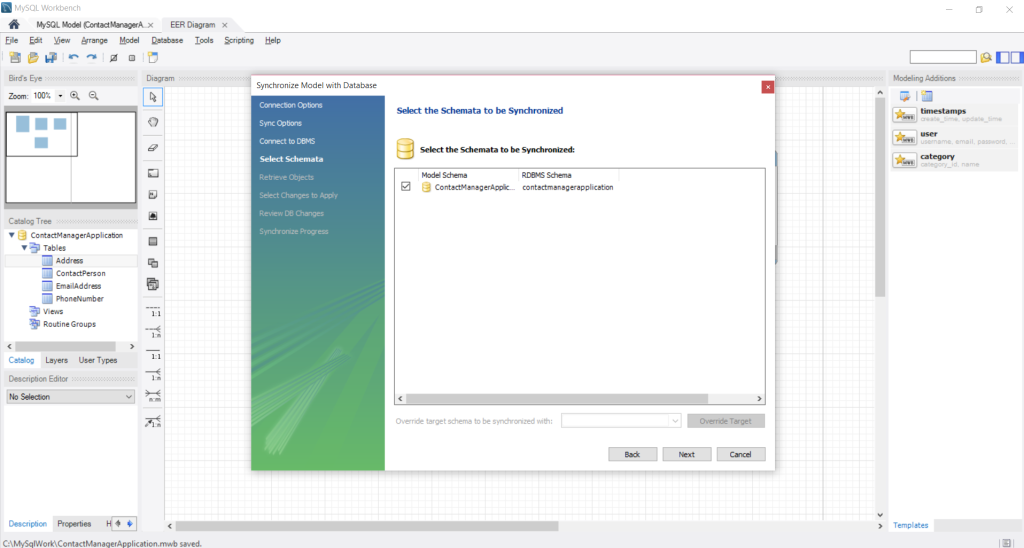
Select the checkbox and click on Next button.
Click on Next button.
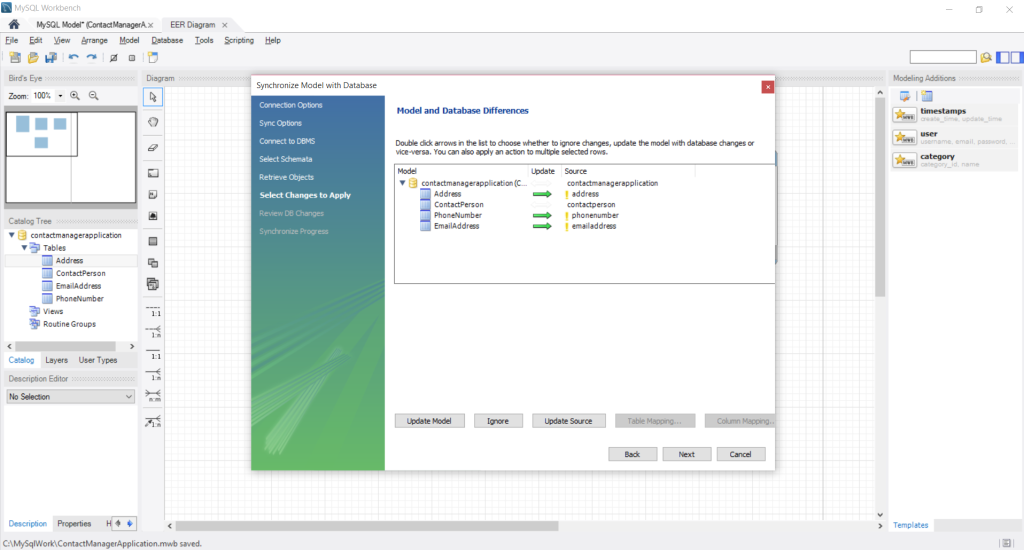
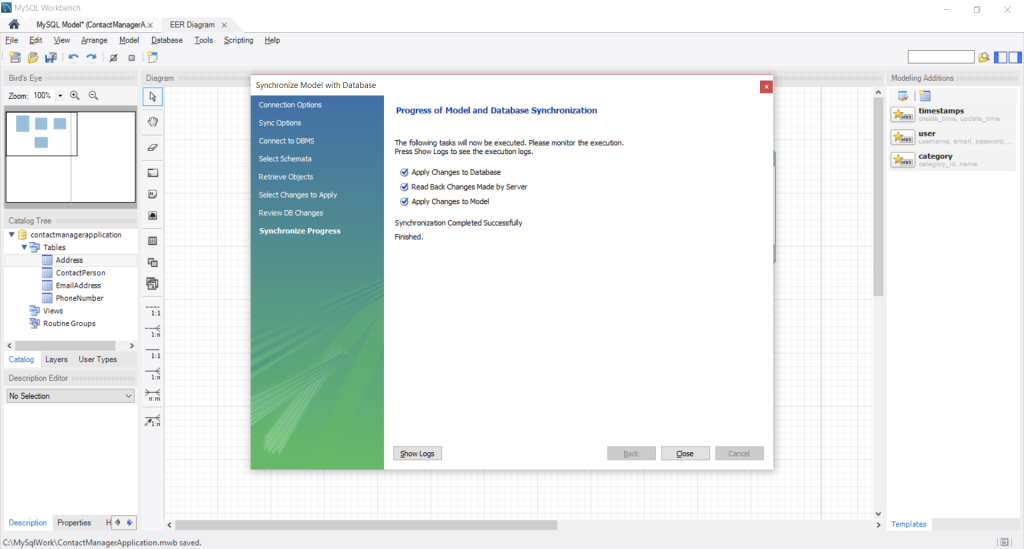
The tool compares all aspects of the current data model with the actual physical MySQL Database schema and lists out the difference between the current data model and the actual physical Database schema. Click on Next button.
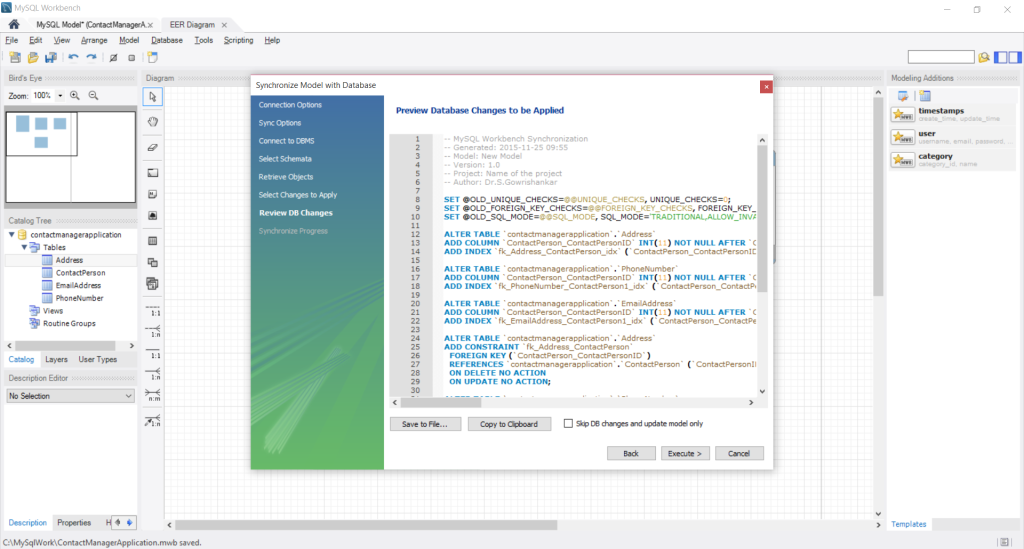
You’ll be able to see a sequence of SQL scripts. Click on execute button.
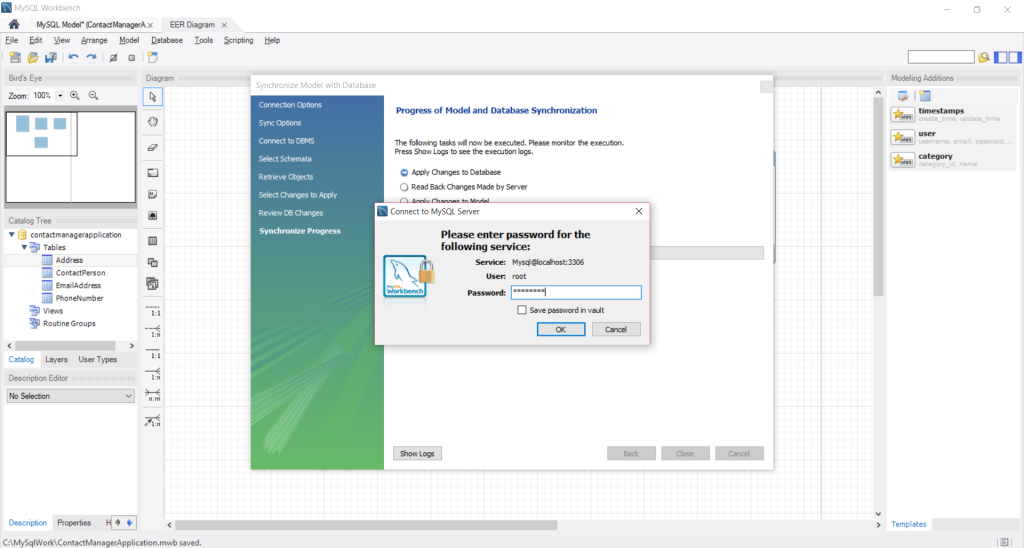
Give the Password for root User and click on OK button.
Click on close button.
Step 14:
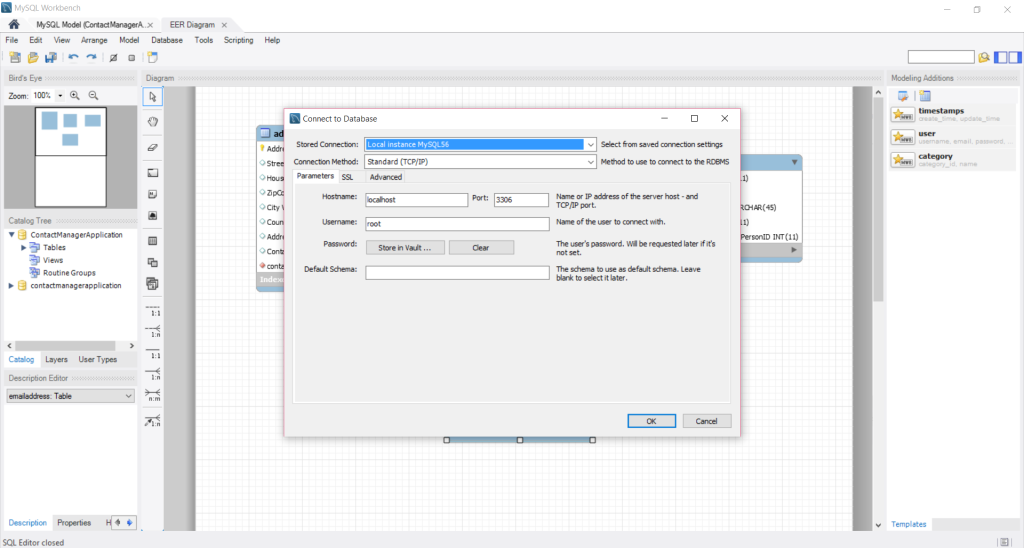
To see whether the data model has been migrated to the MySQL database, go to menu and click on Database and select Connect to Database.
Click on OK button.

On the left pane you can see the contactmanagerapplication database schema and expand it see the list of tables.
Conclusion
I have shown the various steps involved in creating an Database Schema using MySQL workbench GUI without any coding.
You can find MySQL Workbench file and SQL code for ContactManagerApplication Schema @
Comments
comments powered by Disqus